In the field of industrial automation, space saving, cost reduction, and integrated data management are key topics. Today, we will take a deep dive into the Turck TX700 series and the internal PLC solution, which integrates visualization (HMI) and control (PLC) functions into a single robust hardware.
Discover how you can fully utilize this all-in-one device that goes beyond a simple touch panel to perform complex logic control and cloud connectivity.
1. Hardware In-depth Analysis: TX710-P3CV01
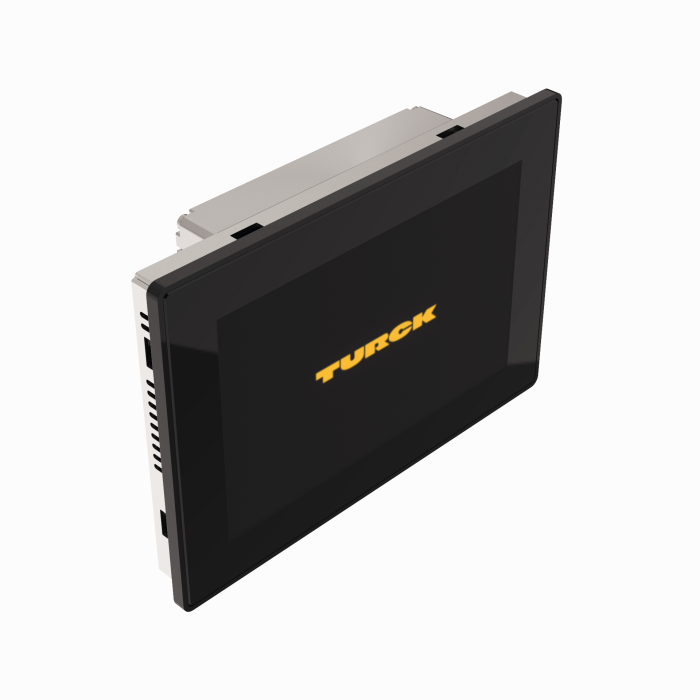
Among the TX700 series, the TX710-P3CV01 model is the flagship product featuring a 10.1-inch high-resolution display and a powerful communication interface.
Key Specs
- Display: 10.1" TFT widescreen (1280 × 800), capacitive multi-touch
- Processor: ARM Cortex-A9 dual-core 800 MHz
- Memory: 4GB Flash / 1GB RAM
- Communication Ports: Three Ethernet ports (10/100 Mbit) allow for network separation and various topology configurations.
Installation Environment and Durability
This product is designed for harsh industrial environments. It supports IP66 for the front and IP20 for the rear and has obtained Zone 2 (gas) and Zone 22 (dust) explosion-proof certifications (ATEX, IECEx), making it safe for use in hazardous areas.
Note: When installing in explosion-proof areas, USB devices or SD cards must not be disconnected while the power is on, and all wiring work must be performed in a non-explosive environment.
2. Core Technology: Internal PLC (CODESYS V3)
The most significant feature of the TX700 series is the built-in CODESYS V3 runtime. The HMI itself functions as a controller without the need for a separate PLC.
Understanding the Architecture
- Integrated Structure: The HMI runtime (TX VisuPro) and the PLC runtime (CODESYS) run simultaneously on a single piece of hardware.
- Internal Communication: The two systems communicate internally using the Ethernet protocol, with the local host IP address
127.0.0.1. - License Activation: To use CODESYS functions, a license key must be entered and activated in the ‘Manage Target’ menu of TX VisuPro. This key is matched to the device’s MAC ID.
Supported Fieldbus Protocols
The CODESYS V3 runtime supports various fieldbus protocols, offering excellent scalability.
- PROFINET: Controller and Device mode support
- EtherNet/IP: Scanner and Adapter support
- Modbus: TCP and RTU Master/Slave support
- EtherCAT: Master function support
3. Practical Guide: Setting Up a PROFINET Controller
Let’s look at the step-by-step method for setting up the most commonly used PROFINET communication.
- Project Creation: Create a new project in CODESYS V3 and select the device.
- Add Ethernet Interface: Right-click on the
Devicetree, selectAdd Device, and add an Ethernet adapter. Selecteth0as the interface. - Add PN-Controller: Add a
PN-Controllerunder the Ethernet adapter. Ensure the IP range of the controller matches that of the device. - Scan Network: Using the
Scan for Devicesfunction, you can automatically find PROFINET devices (e.g., TBEN blocks) connected to the network and add them to the project tree.
Tip: When exchanging data with third-party PLCs (e.g., Siemens), you must set it as a ‘PROFINET Device’. Note that in this case, the input/output data mapping is reversed (Input ↔ Output).
4. Data Connectivity and Cloud (IoT)
The TX700 acts as a data gateway beyond simple control.
- OPC UA: Supports OPC UA Server/Client functions for data exchange with upper-level systems (SCADA/MES).
- MQTT & Cloud: By utilizing the MQTT function of TX VisuPro, field data can be transmitted to various cloud services, such as Google Cloud Platform. It is recommended to have the logic where data collected in CODESYS is passed through internal communication and then published via MQTT.
- Web Access: You can remotely monitor HMI screens from a PC or mobile browser via HTML5-based WebVisu.
5. Troubleshooting Tips for Engineers
Here are some useful tips for when the equipment is not responding as expected.
“Tap-Tap” Mode (Recovery Mode)
Used when the HMI does not boot or is inaccessible due to incorrect IP settings.
- Method: Tap the screen at a rate of at least twice per second (2Hz) immediately after turning on the power.
- Function: This allows you to enter the system settings menu or perform a factory reset.
LED Status Check
Diagnose communication status immediately using the LEDs on the Ethernet ports.
- Amber (Left): Solid = Link established
- Green (Right): Flashing = Data transfer in progress
Battery Management
The device has a built-in rechargeable lithium battery that is not user-replaceable. To maintain the RTC (Real-Time Clock), it is recommended to leave the power on long enough for the battery to fully charge when turning on the device for the first time after long-term storage.
Closing
The Turck TX700 series is a hybrid solution that combines the intuitive visualization capabilities of TX VisuPro with the powerful logic control of CODESYS. The TX700 series will be an excellent answer for reducing wiring, securing panel space, and flexibly responding to IIoT environments.